Gym Flooring Installation: A Complete Step-by-Step Guide
Rubber gym flooring is forgiving, but the basics decide whether it lasts five years or fifteen. This is the installation and care guide we hand every gym owner and fit-out crew we supply — written for rubber rolls, interlocking tiles and 1 m mats, from a 20-year flooring factory.
Step 1 — Choose the Right Flooring for the Space
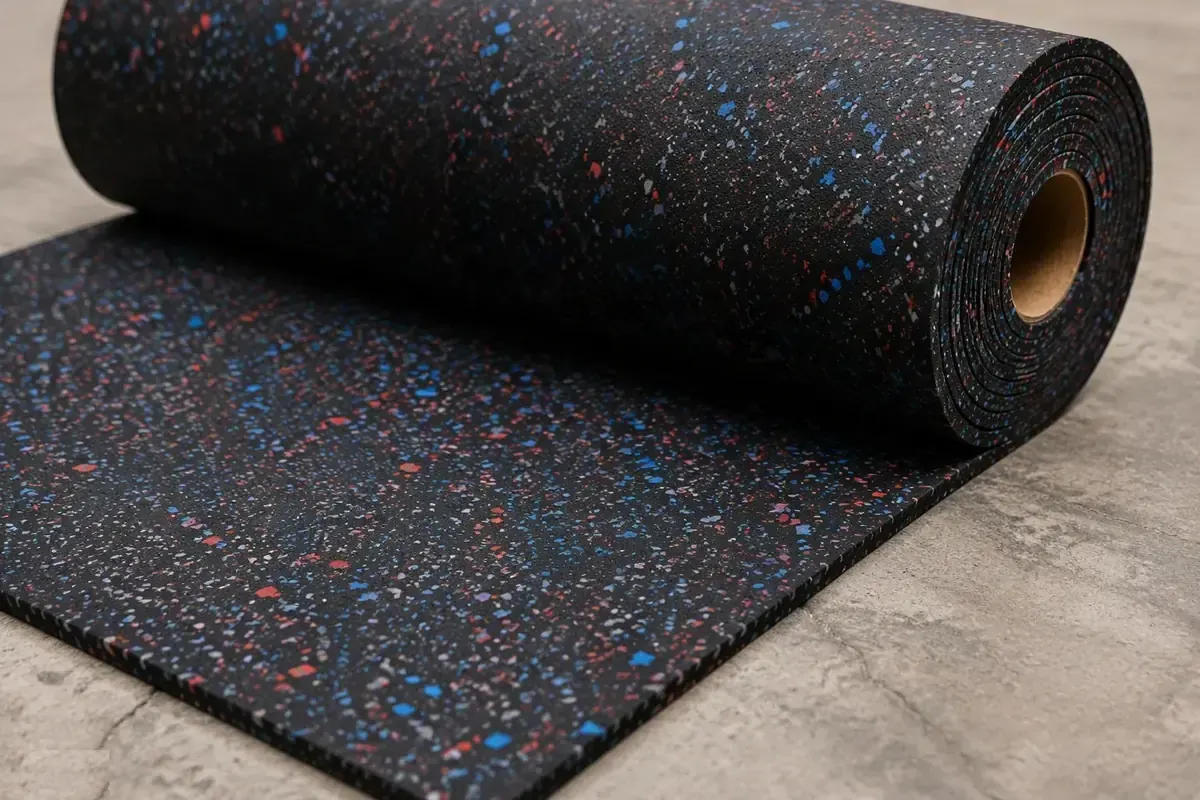
Every installation starts with matching the flooring type to the room. A 300 m² commercial gym and a 20 m² garage gym need different products and different fixing methods.
| Flooring type | Best for | Fixing method | DIY skill level |
|---|---|---|---|
| Rubber rolls (1–1.8 m wide) | Large commercial gyms, cardio zones | Full-spread adhesive or seam tape | Intermediate |
| Interlocking tiles (500×500 / 1×1 m) | Home gyms, free-weight zones, functional areas | Dry-lay — no glue on flat slabs | Beginner |
| 1×1 m gym mats | Power racks, platforms, small corners | Dry-lay or double-sided tape | Beginner |
Step 2 — Tools and Materials You Need
Cutting: sharp utility knife with spare blades and a metal straight edge
Measuring: tape measure and chalk line for layout marking
Fixing: double-sided tape (home use) or contact adhesive with a notched trowel (commercial)
Pressing: floor roller if available — otherwise walk-pressing every metre works for tiles
Cleaning: industrial vacuum and a mop with neutral pH detergent
Safety: gloves and knee pads for a full day on the floor
Step 3 — Prepare the Subfloor to These Numbers
Almost every failed installation traces back to the slab. Our factory installation manual sets hard limits — write them into your job spec and check them before any material arrives:
Concrete must be clean, dry and sound: no dust, paint, oil, wax, grease or old loose adhesive. Flatness within 5 mm over any 2 m run — anything inside that is corrected with a self-levelling compound. Substrate moisture must be below 3%; above that, treat the slab with a moisture-barrier epoxy primer first or the adhesive will bubble within months. Do not install below 15 °C or above 70% relative humidity — low temperature slows adhesive cure and high humidity leaves condensation on the rubber backing.
Primer choice: absorbent concrete → absorbent primer; non-absorbent (old tiles, metal) → non-absorbent primer; damp slabs → moisture-barrier epoxy primer
Repairs: fill cracks with cementitious repair compound and grind down high spots before levelling
| Load class | Typical gym area | Min. self-levelling compressive strength |
|---|---|---|
| Light-duty | Stretching zones, walking tracks | ≥ 20 MPa |
| Medium-duty | Cardio decks, machine areas | ≥ 25 MPa |
| Heavy-duty | Free-weight zones, platforms, sled tracks | ≥ 30 MPa |
Step 4 — Acclimatize, Plan, Then Lay
1. Acclimatize the material — 24 hours minimum. Rubber remembers temperature. Let rolls and tiles sit in the room for at least 24 hours (longer in extreme seasons) so they reach room temperature and recover their shape before cutting or gluing. Store rolls standing upright — a roll lying flat crushes into waves and an end left drooping curls permanently. Stack tiles flat, max 10 layers, labels out, and keep different production batches separate so batch colour difference never lands in the same area.
2. Plan the layout. Rooms under 40 m²: snap lines from the edges and work inward. Rooms over 40 m²: snap a centre cross and work outward so the floor stays square. Leave a 5 cm fitting allowance at walls — trim to the skirting line after laying. In gyms where a corridor meets the room, align the seams across the doorway for a clean sight line.
3. Lay rolls from the centre out. Fold each roll back halfway, glue the exposed half, lay it down, then fold and glue the other half. Never reverse-roll a roll — the stored bend stress turns into bubbles under the glue line.
4. Start tiles from a straight wall. Lock each tile by tapping the seam with a rubber mallet — never hammer the surface directly. Corners must meet at perfect crosses; press each edge flat as you go to push air out.
5. Leave an expansion gap. Keep 5–8 mm at walls; rubber swells slightly in heat. Cover the gap with skirting or transition strip.
Step 5 — Fix It Down: Glue, Tape or Dry-Lay?
Rule of thumb from our installers: commercial traffic always gets adhesive; anything under 50 m² in a home setting can usually be dry-laid or taped.
| Method | Best for | Durability | Cost & effort |
|---|---|---|---|
| Dry-lay (no glue) | Interlocking tiles on flat slabs, home gyms | Good — tiles stay put under their own weight | Lowest |
| Double-sided tape | Light home gyms, removable installations | Fair — check edges every few months | Low |
| Full-spread contact adhesive | Commercial gyms, heavy traffic, rolled flooring | Best — 8–15 year bond when subfloor is prepped | Medium |
| Seam tape (rolls) | Large roll installations, raised edges | Good — joins rolls without full glue | Medium |
Matching Adhesive and Trowel to the Flooring Thickness
Once you choose glue, match it to the product thickness — this is the spec our production floor works to:
Notched trowel matters: thin tiles (under 2.5 mm) → fine A5-type notch; thicker pavers → coarser A2-type notch. Too little glue starves the bond; too much leaves ridges that telegraph through the floor.
Keep sun off fresh glue: direct sunlight on uncured adhesive causes skinning and weak spots
| Flooring thickness | Adhesive type | Why |
|---|---|---|
| Under 2.0 mm | Water-based acrylic adhesive | Enough bond for thin material, easier to correct, low VOC |
| Over 2.5 mm | Two-component polyurethane (2K PU) | Higher peel and shear strength for heavy rolls and pavers |
| High-impact zones (platforms, drop zones) | 2K PU, trowelled on both slab and rubber back | Double-spread bond survives repeated barbell drops |
Adhesive Open Time — and How Climate Changes It
Open time is the window between spreading adhesive and laying the floor. Miss it and the bond fails no matter how good the glue is. Typical values at normal indoor temperature and humidity:
Hot + humid (summer, coastal): flash-off takes longer; check the rubber backing for condensation before laying
Hot + dry (summer, inland): glue skins faster — work in smaller sections
Cold + humid (winter, no heating): below 15 °C the adhesive may not cure at all — heat the room first
| Adhesive type | Open (flash-off) time | Working time after mixing |
|---|---|---|
| Two-component PU | 25–35 minutes | about 40 minutes — mix only what you can lay in that window |
| Water-based acrylic | 5–40 minutes | 30–40 minutes |
| Contact adhesive | 10–30 minutes | 40–60 minutes |
Step 6 — Cut In and Finish
Cut the perimeter pieces with a sharp knife and straight edge — score once deep rather than sawing back and forth, and leave the cut edge tucked under the skirting line.
For rolls, use the seamless overlap cut on every seam: overlap the two runs by about 30 mm, lay a straight edge on top, and cut through both layers in one pass with a hooked seam knife. Fold the two halves back, lift out the waste strip, and the factory edges meet into a near-invisible joint. This is the technique our own crews use — it beats butt-joining every time.
Press out the air: push the laid floor flat with a cork block first, then roll the whole area in two directions with a 50–75 kg roller
Wipe adhesive off the surface immediately cured glue on the wear layer collects dirt forever
Inspect within 24 hours: after that the adhesive has set and any trapped grit or blister is locked in — walk every seam before the equipment arrives
Maintenance Schedule That Doubles Floor Life
Avoid solvent cleaners, pressure washers and wax — they break down rubber and kill grip.
| Frequency | Task |
|---|---|
| Daily | Dry mop or vacuum grit off — grit is what grinds the surface dull |
| Weekly | Damp mop with neutral pH detergent |
| Monthly | Check seams and edges; re-press or re-tape any lift |
| Quarterly | Deep clean; inspect under racks for trapped debris |
Five Mistakes That Ruin Gym Floors
Skipping acclimatization. Cold rubber shrinks after laying and opens seams.
Ignoring subfloor level. A 5 mm hollow turns into a torn seam under a dropped dumbbell.
Wrong adhesive or cleaners. Solvent-based products swell and weaken rubber.
Dragging equipment. Lift, don't drag — even heavy-duty rubber tears at fixed points.
Wrong thickness for the drop load. Match thickness to use: 8–10 mm cardio, 15–20 mm free weights, 30–50 mm platforms and Olympic lifts.
FAQ: Can You Install Rubber Gym Flooring Over an Existing Floor?
Over sound, level concrete: yes, directly. Over ceramic or porcelain tile: yes with a levelling check — grout lines telegraph through thin rolls, so use tiles or mats, or skim-coat first. Over timber or engineered wood: use a moisture barrier and expect to fix with tape rather than adhesive, so the wood can still move. Over carpet: no — remove it; carpet under rubber compresses and wrinkles.
FAQ: How Long Does Installation Take?
As a guide for a two-person crew: a 50 m² home gym with interlocking tiles takes 3–4 hours including cutting in; a 300 m² commercial gym with glued rolls takes 2–3 days including adhesive curing time. Add 24 hours of curing before heavy equipment goes back on a glued floor.
FAQ: Do I Need a Professional Installer?
Interlocking tiles and mats: no — most owners self-install with the steps above. Glued commercial rolls: a professional crew pays for itself on rooms over 100 m², because adhesive open-time, seam alignment and edge cutting decide how the floor looks in year five. We supply written installation instructions and phone support with every order — send your floor plan and we advise before you buy.
FAQ: What Temperature and Moisture Are Safe for Installation?
Install between 15 °C and 30 °C, below 70% relative humidity, with substrate moisture under 3%. Below 15 °C two-component polyurethane adhesive cures too slowly or not at all — heat the room and let it stabilize for a day before starting. High humidity leaves dew on the rubber backing; if you see condensation, wipe it and wait. These limits come from our installation manual and apply to any brand of rubber flooring.
FAQ: Can I Mix Rolls From Different Production Batches?
Same colour, different batch can differ slightly — rubber is a natural-material product. The rule our crews follow: use one batch number per room, lay rolls in roll-number order, and never place two batches side by side in the same visual field. If a job needs two batches, put the break line under equipment or at a doorway. Order your full quantity in one purchase order and we ship a matched batch.
Lifespan Reality
A correctly installed commercial rubber floor runs 8–15 years. The two things that shorten it: wrong thickness for the drop load, and grit grinding into the surface underfoot. Get those two right and the floor outlives most of the equipment on it.
From the Factory Catalog
Ask Us Before You Buy
Questions about your subfloor or layout? Send photos and your floor plan — we advise before you buy.
Contact UsSend an Inquiry
Goes directly to our export team — reply within 24 hours.
Sent securely and directly to our sales team. We reply within 24 hours.